




Collapsible content
Specifications
Power Source: USB charging or 2 AAA batteries (not included)
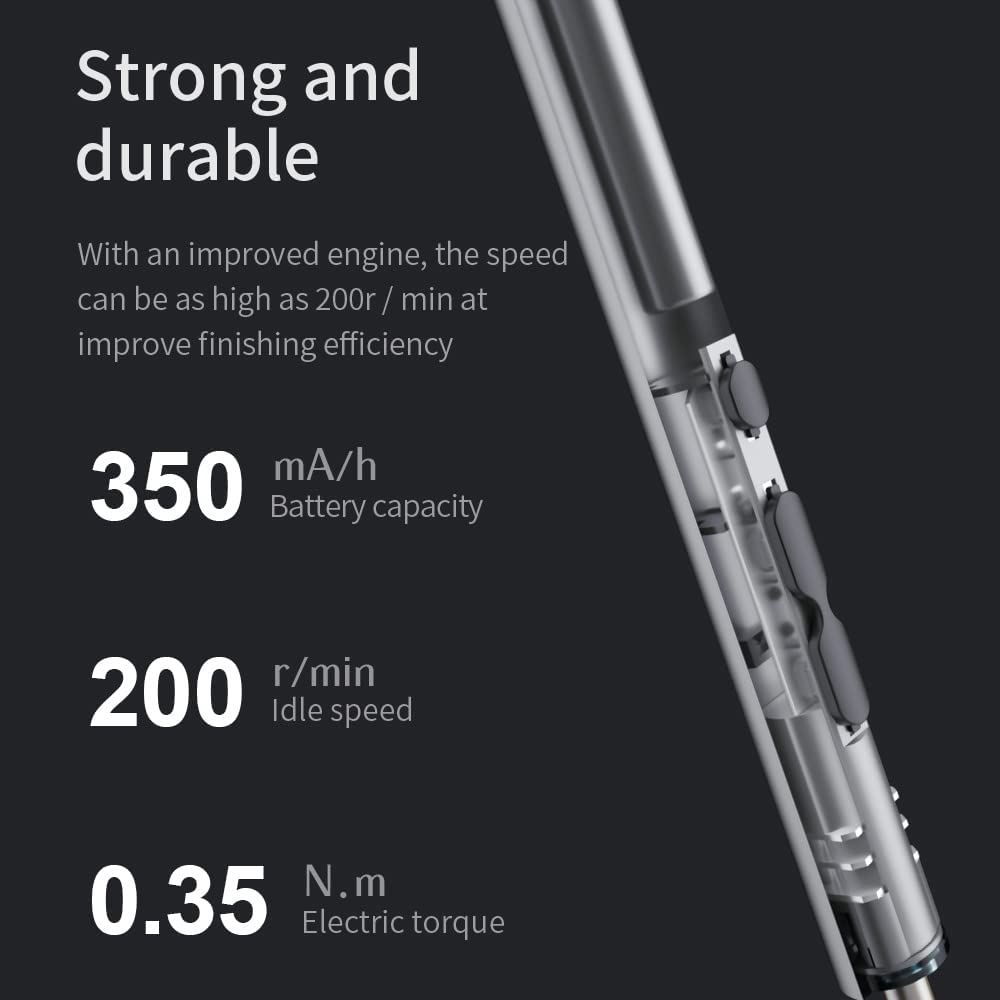
Torque Range: 0.35 - 0.5Nm
Speed: 300 r/min
Material: Aluminum alloy
Bit Size: 4mm
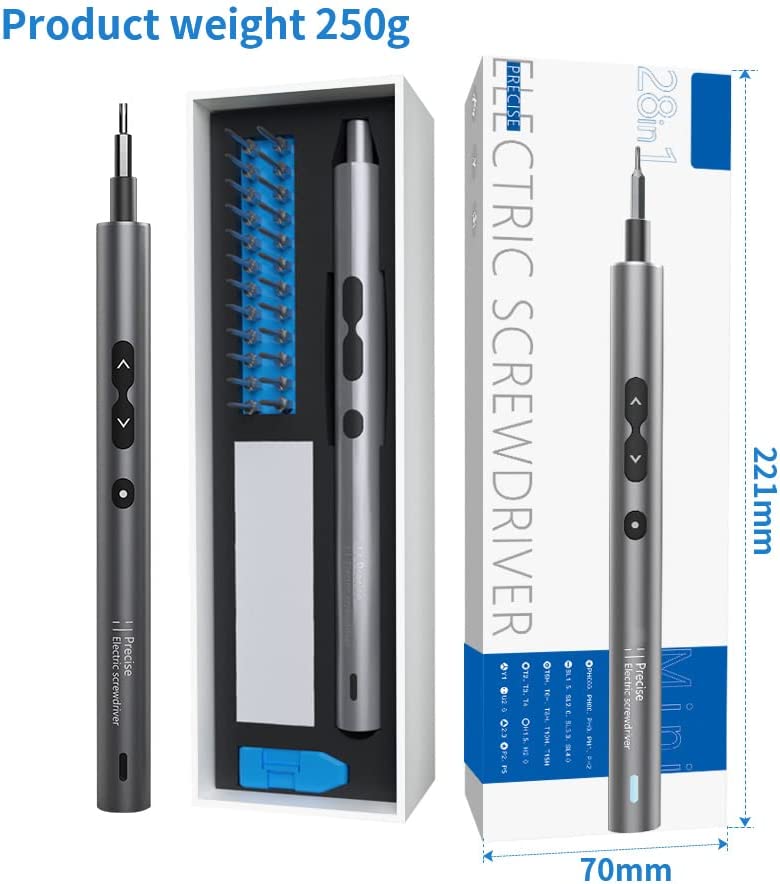
Screwdriver Size: 17.5 x 1.8 cm
Weight: 91g
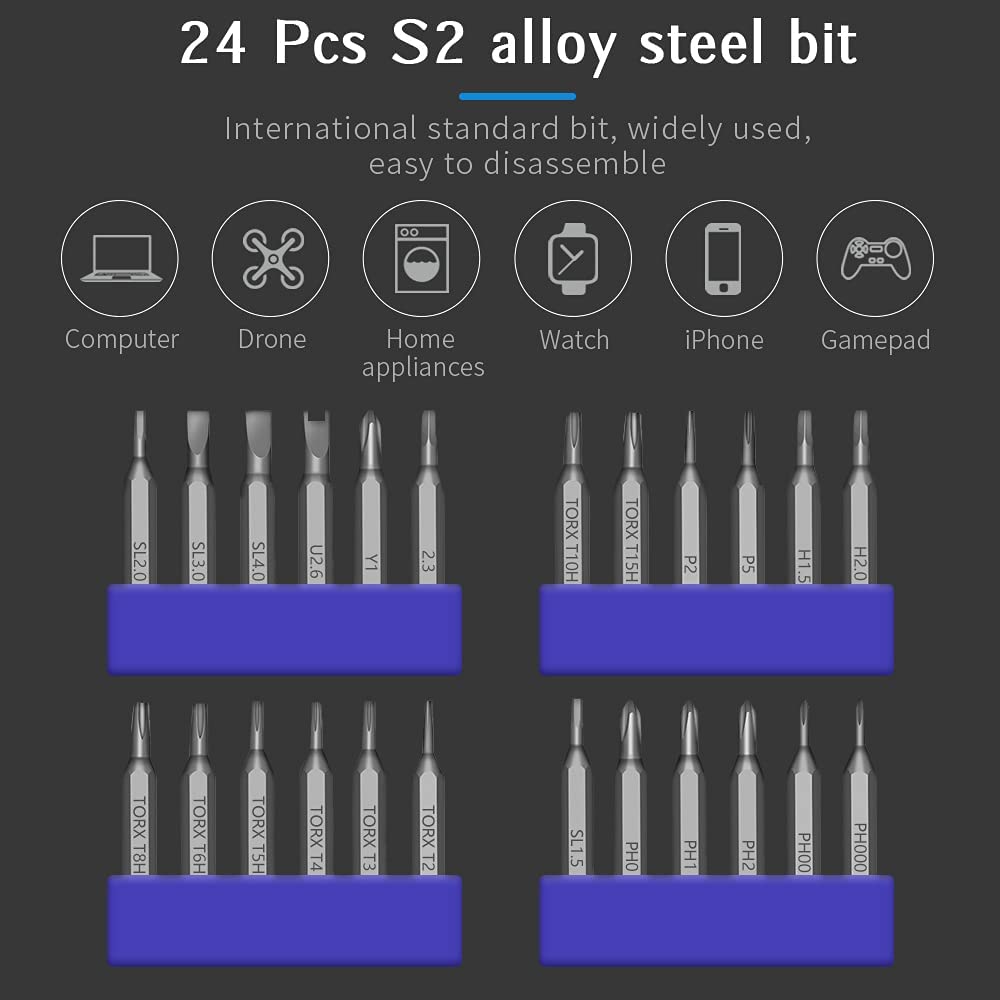
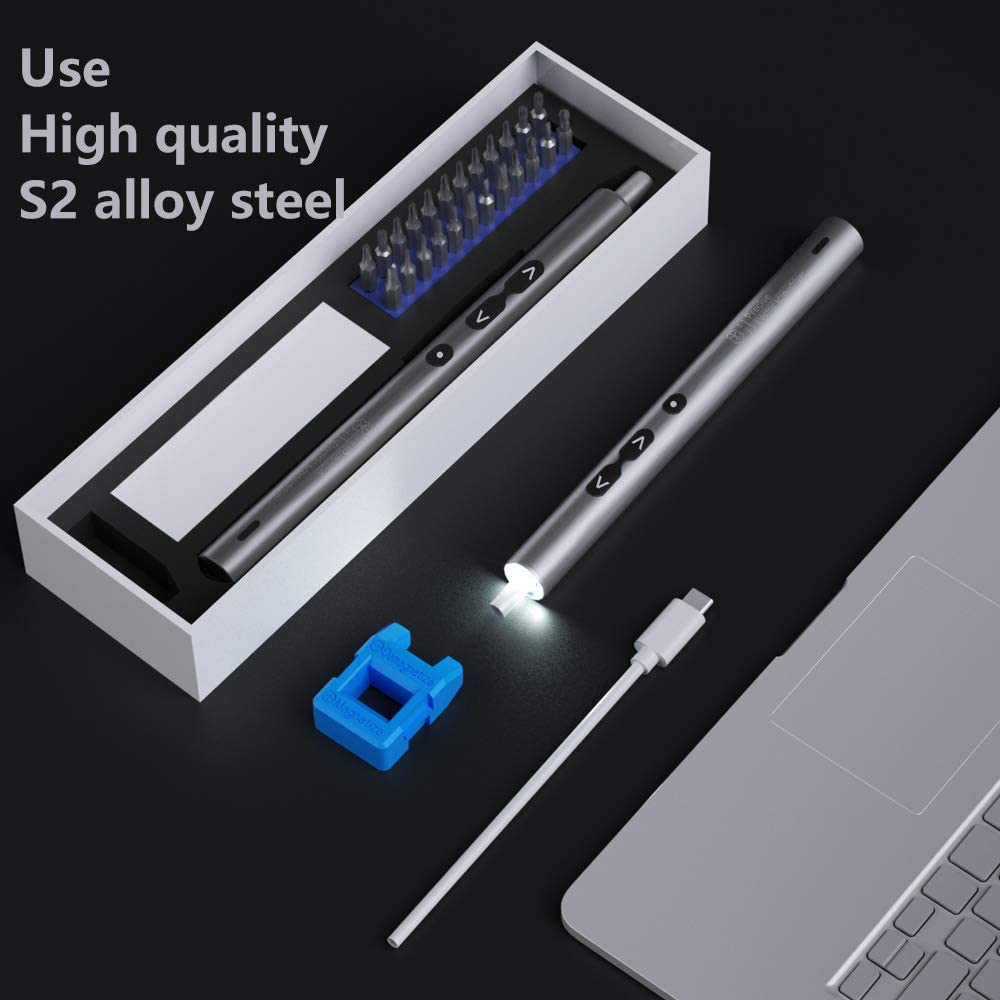
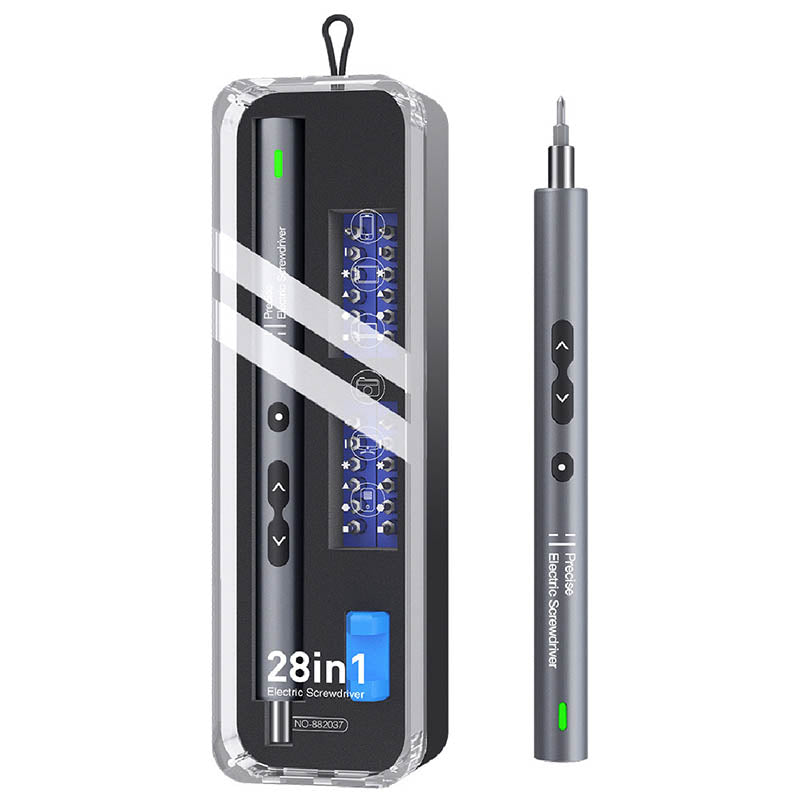
Accessories: 24 precision bits, a flexible shaft extension, and a storage case.
Additional Features: LED light, magnetic bit holder, adjustable torque settings (six levels)
FAQ
Q: What is the torque range of the Mini Electric Screwdriver?
A: The torque range of the screwdriver is 0.35-0.5Nm, which provides powerful and precise performance for a wide range of tasks.
Q: What are the adjustable torque settings for the screwdriver?
A: The screwdriver has six adjustable torque settings that can be easily selected with a single button. This feature helps to prevent over-tightening or stripping screws and allows you to work with delicate materials like electronics or softer woods.
Q: Can I use the screwdriver to remove screws?
A: Yes, the screwdriver has a reversible direction switch that allows you to remove screws as well as drive them in.
Q: Is the screwdriver suitable for both professional and DIY use?
A: Yes, the screwdriver is suitable for both professional and DIY use due to its adjustable torque settings, precision bits, and ergonomic design.
Q: How long does the battery last?
A: The battery life will depend on the task and frequency of use. However, the screwdriver can be powered by both USB cable and AAA batteries, providing flexibility and convenience.
Q: What materials is the screwdriver made of?
A: The screwdriver is made of high-quality aluminum alloy, which is strong, durable, and resistant to wear and tear.
Q: What comes with the screwdriver?
A: The screwdriver comes with 24 precision bits made of high-quality S2 steel, a flexible shaft extension, and a storage case.
Guides
The Mini Electric Screwdriver is a simple and user-friendly tool that can be used for a wide range of tasks. By following these steps, you can use the screwdriver to achieve precise and efficient results.
STEP1. Charge or Insert Batteries: If you're using the USB cable to power the screwdriver, plug it into a power source and connect it to the screwdriver. If you're using AAA batteries, insert them into the battery compartment.
STEP2. Select the Bit: Choose the appropriate bit for the task you're working on and insert it into the magnetic bit holder.
STEP3. Adjust the Torque: Select the appropriate torque setting for the task you're working on by pressing the torque adjustment button. There are six torque settings to choose from.
STEP4. Turn on the Screwdriver: Press and hold the power button until the LED light turns on.
STEP5. Start Screwing: Position the screwdriver tip onto the screw head and apply gentle pressure to the screwdriver. The screwdriver will start rotating automatically at the selected speed.
STEP6. Finish the Task: Keep turning the screwdriver until the screw is firmly in place. If you need to remove a screw, reverse the direction of the screwdriver by pressing the directional switch.
STEP7. Turn Off the Screwdriver: Once you've completed the task, release the power button to turn off the screwdriver.
STEP8. Store the Bits: After you've finished using the screwdriver, store the bits in the storage case to keep them organized and prevent them from getting lost.


 30-Day Money Back Guarantee
  Fast, Free Shipping